
Members
Invite people to your workspace, keep their workspace profiles up to date and store NDAs and contracts.
Members is the directory of everyone in your workspace. Workspace admins use it to invite people, set their role, department and job title, and keep employment records such as NDAs and contracts.
Before you begin
You manage members as an Administrator. Each plan allows a maximum number of users. To see how many you use, go to Plan Management and check Users/Members.
Find a member
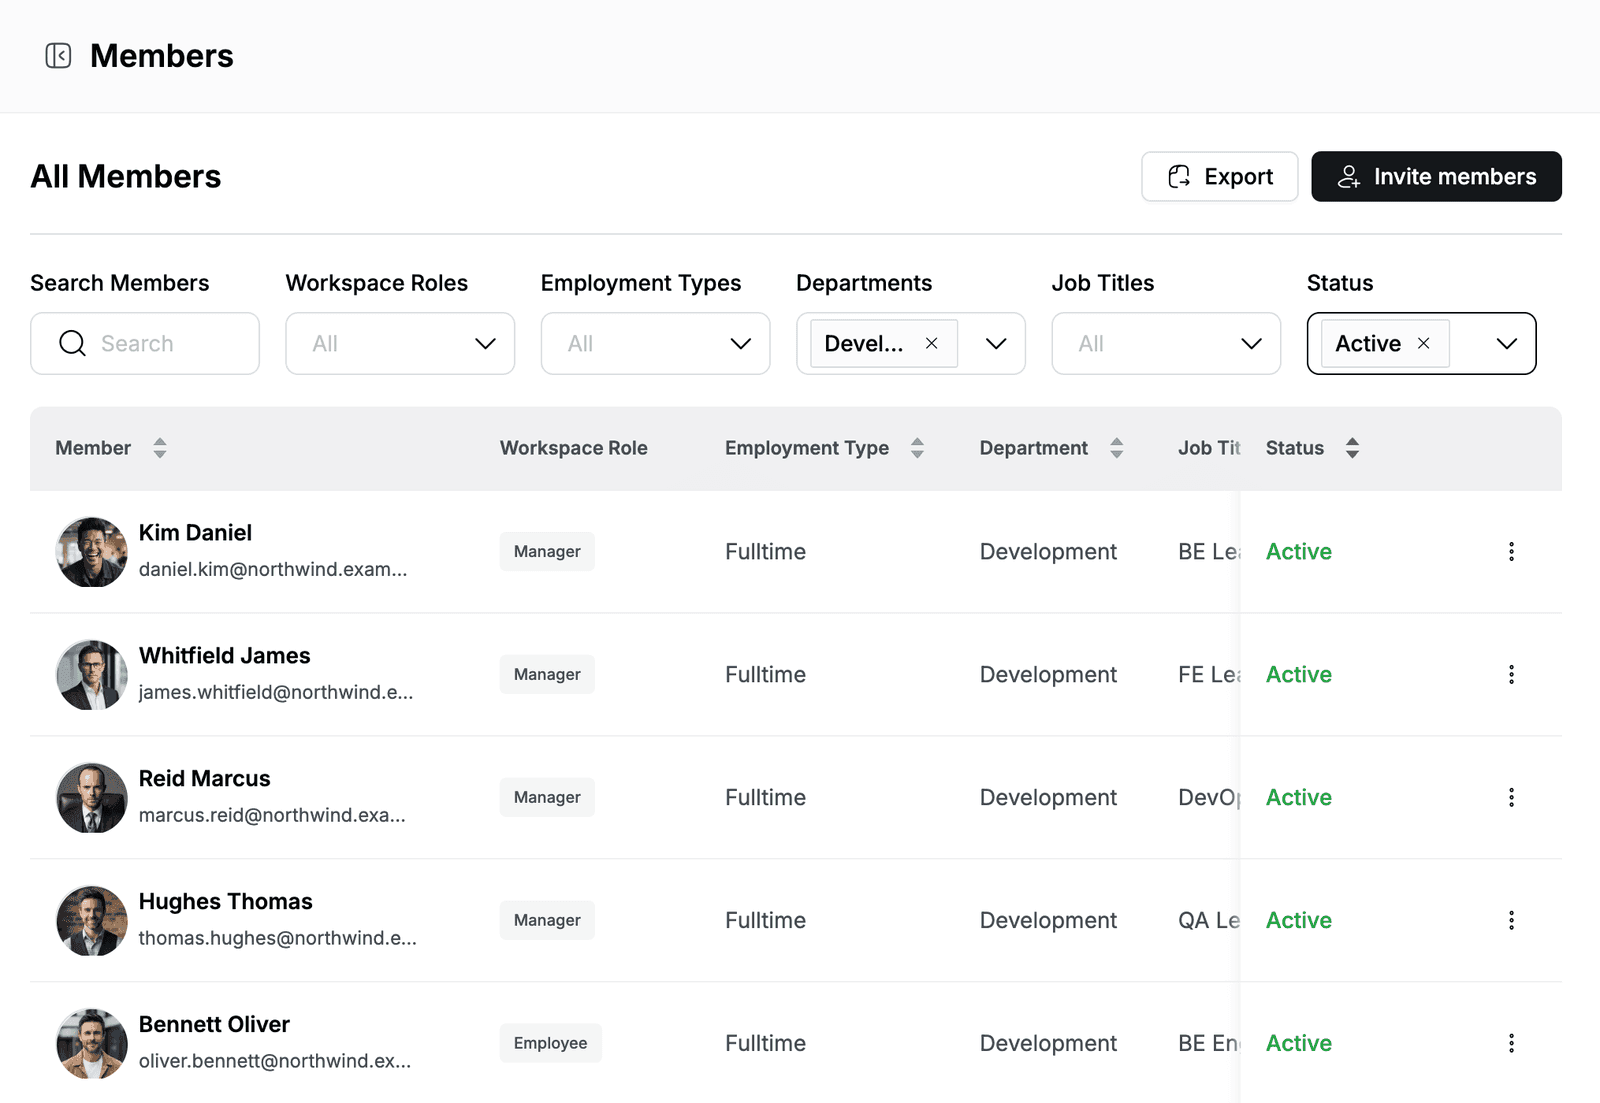
Go to Members. The All Members list shows each person's Workspace Role, Employment Type, Department, Job Title, NDA, Contract, Onboard date, Projects and Status.
- To find someone, type part of their name or email in Search Members.
- To narrow the list, use the Workspace Roles, Employment Types, Departments, Job Titles and Status filters. You can select more than one value in each filter.
- To sort, click the arrows next to Member, Employment Type, Department or Status.
The Status column shows Active, Invited (the invitation is not accepted yet), Deactivated or Left.
Invite members
- Go to Members and click Invite members.
- Under Add email addresses, enter an email address, for example
emma.collins@northwind.example.com. - When the address appears below the field, click + next to it. Repeat to add more people.
- Optional: click Add global profile next to an address to enter the person's First Name, Last Name, Birthday, Gender and profile photo. You can also add their address, bank details and identity information. Click Add global profile to save.
- Under Set workspace profile, select the Workspace Role, Employment Type, Department and Job Title.
- Optional: select an Onboard Date.
- Click Continue.
Hplix emails an invitation to each person. They appear in the list with the Invited status until they accept.
The workspace profile applies to everyone you add in one invitation. To give people different roles, departments or job titles, invite them separately.
To invite someone from outside your company, such as a client contact, select External User under Set workspace profile. External users have no role, employment type, department or job title.
To send an invitation email again, click ⋮ next to the invited member and click Resend Invite. To cancel the invitation, click Withdraw Invite.
View member details
- Go to Members.
- Click ⋮ next to the member and click Member Detail.
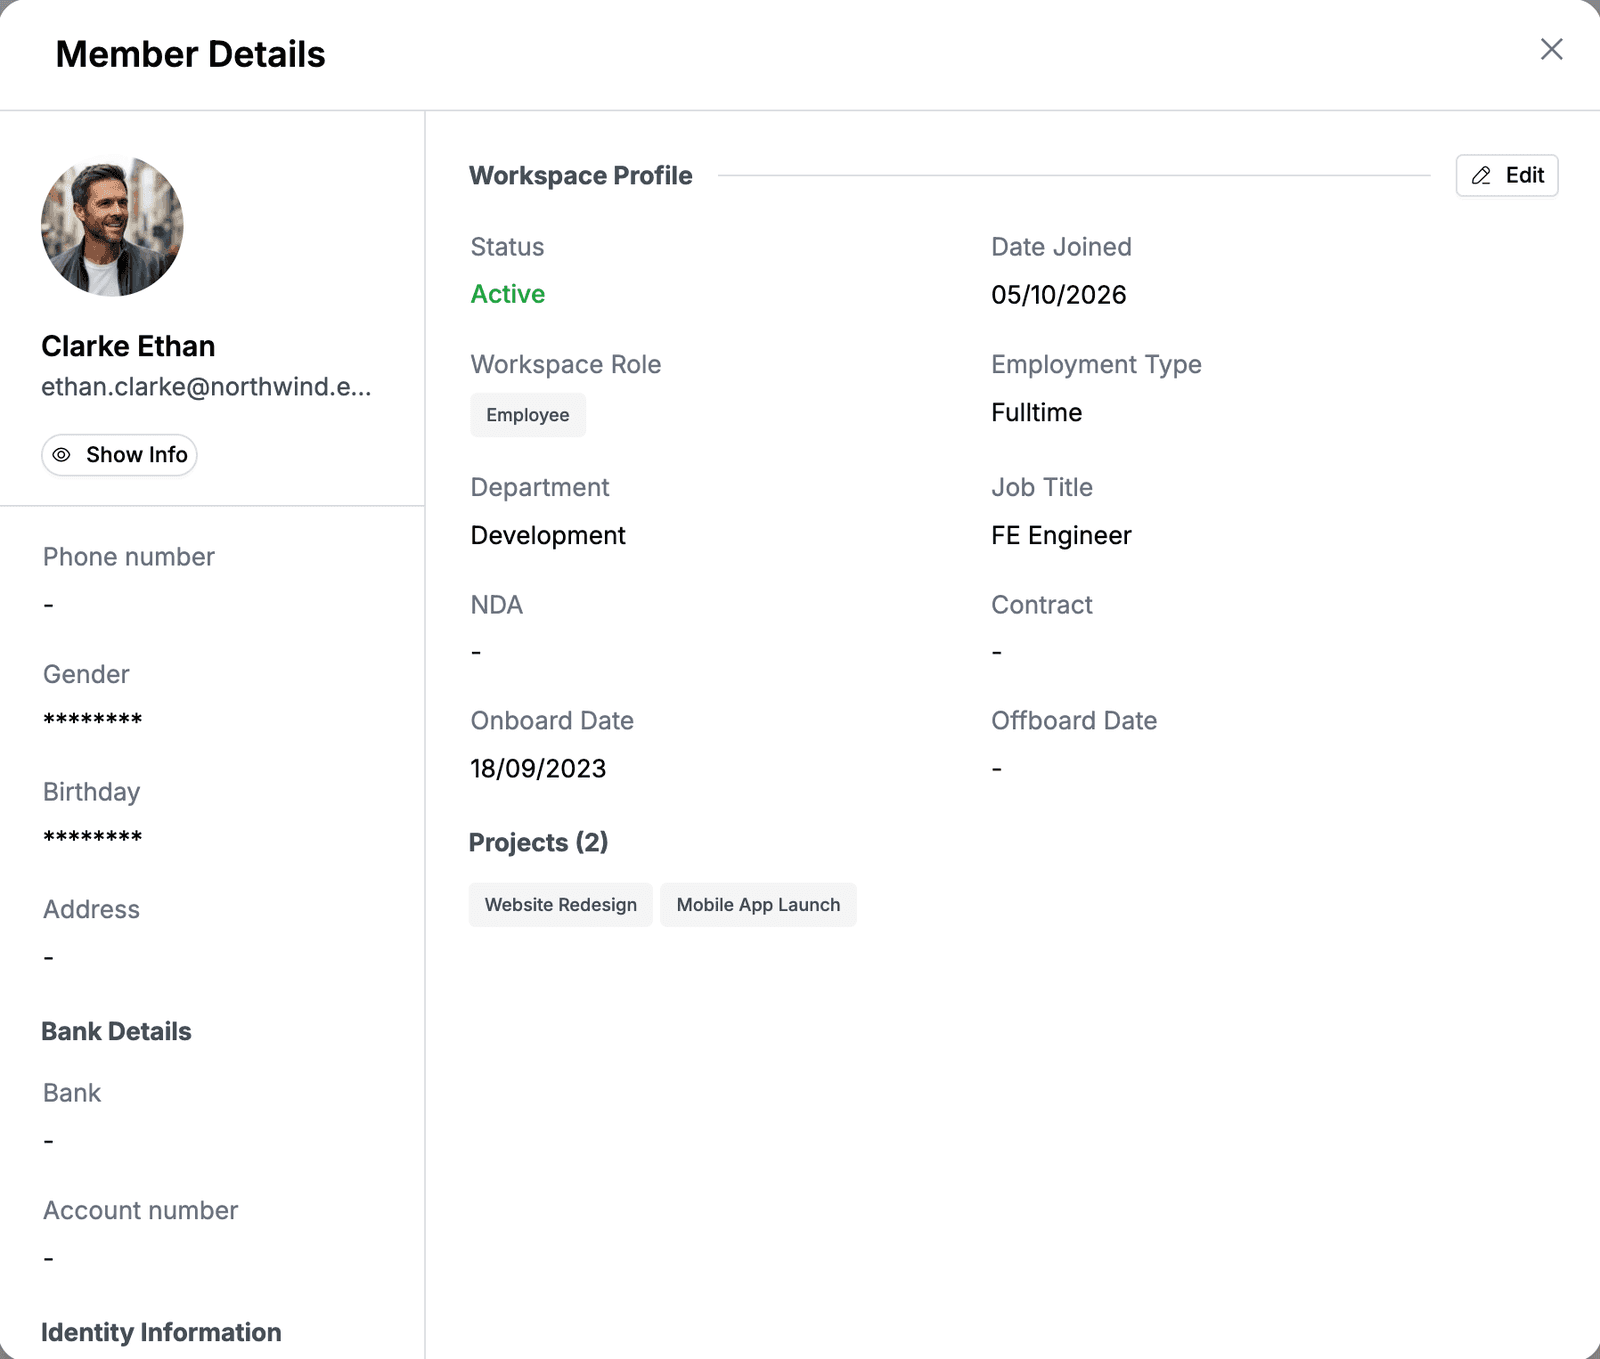
The left side shows the person's personal information: Phone number, Gender, Birthday, Address, Bank Details and Identity Information. Some values are hidden. Click Show Info to show them and Hide Info to hide them again.
The right side shows the Workspace Profile: status, date joined, role, employment details, documents, onboard and offboard dates, and the member's Projects.
Edit a workspace profile
-
Go to Members.
-
Click ⋮ next to the member and click Member Detail.
-
Under Workspace Profile, click Edit.
-
Change the fields you need:
Field Description External User Marks the person as someone from outside your company. Workspace Role What the member can do in the workspace, such as Administrator, HR Manager, Manager or Employee. Contract Type The employment type, such as Fulltime, Part-time, Probation, Internship or Freelance. Department and Job Title Where the member works and their position. Onboard Date and Offboard Date When the member started and, if they left, their last day. NDA File and Contract The member's signed documents. PDF only, up to 10 MB each. -
Click Save changes.
Upload an NDA or contract
- Go to Members and find the member.
- In the NDA or Contract column, click Upload document.
- Select a PDF file.
The column changes to View document. Click it to open the file in a new browser tab.
Deactivate or reactivate a member
To deactivate a member, click ⋮ next to the member and click Deactivate. The member stays in the list with the Deactivated status.
To reactivate a member:
- Go to Members.
- In the Status filter, select Deactivated.
- Click ⋮ next to the member and click Activate.